Showing posts with label GPIO. Show all posts

2023-08-11

ESP32-S3-MINI-1 GPIO

I now have a few boards, including a general test board...

The ESP32-S3-MINI-1 has 39 GPIO pins, though the data sheet defines that one (GPIO26) is reserved when using PSRAM (e.g. ESP32-S3-MINI-1-N4R2).

Unlike the S1 boards, the GPIO are all available as input or output, making its very flexible. But as always there are some caveats on GPIO usage.

The following relates specifically to the ESP32-S3-MINI-1 module only.

Restricted use:

GPIO0

GPIO0 is the main strapping pin that defines BOOT mode. If low at startup the device enters boot mode. It is pulled up internally so can be left unconnected. This means you cannot use this as an input if there is any chance of the input being low at start up. It can be freely used as an output.

By far the most common usage for GPIO0 is connection to the cathode of a status LED.

GPIO19/20

By default these are USB. This may make them not ideal to use for inputs. Note that they can be configured not to be USB by a fuse setting, but will be USB on an unconfigured module. As such it is probably best to use for USB.

GPIO26

The cannot be used with a PSRAM module, e.g. ESP32-S3-MINI-1-N4R2. It can be used if not PSRAM, e.g. ESP32-S3-MINI-1-N8.

GPIO43/44

By default the boot serial console uses GPIO43 and GPIO44. This means GPIO43 is configured as an output at start up. There are settings to stop any actual output on this. This means it cannot be used as a driven input without at least a resistor to handle the clash at startup. GPIO44 is an input so can be used for any purpose without any problems generally.

GPIO46

GPIO46 only matters when in BOOT mode (GPIO0 low) and in such case must be low. It is pulled low by default so an be unconnected. But do not use this as an input that could be high at startup in BOOT mode. It can safely be used as an output.

Caution:

GPIO3

This is defined as a strapping pin, and is floating by default. However it is only relevant depending with some specific eFuse settings related to JTAG operation. When using the default USB JTAG working, this pin can be used as a general input or output.

GPIO45

GPIO46 impacts the voltage used for SPI, but depends on EFUSE_VDD_SPI_FORCE. But this efuse is already set by default on this module, which means GPIO45 is ignored. It can therefore be used as an input or output.

Serial or USB console?

The S3 modules have two ways you can operate the console - the normal serial (UART), and USB.

USB

The default USB working is as USB JTAG and Serial console. This allows flashing and debug console, and a lot more debugging using JTAG and OpenOCD. This is by far the simplest way to manage the module and what I would recommend.

In most cases my boards have USB, either a printed tab for USB-A or a USB-C connector, but in the rare cases they do not, it is simple to include a header for USB to work with a lead.

This nicely fits under the module itself, with no vias, so takes no space and so no component cost. I deliberately spaced as 0.1" header and with a polarity to avoid confusion.

Apart from using JTAG, the USB serial is not really serial, so is way quicker for flashing code than using the real serial port.

There is one small snag...

It is possible to use an efuse, and more importantly, it is possible for the application to turn off the USB pins. This can even be inadvertent (I have done this, loading code for a different board which had an LED on GPIO19). This then means you cannot use the USB port at all, so cannot reset or load code or anything.

For this one reason, it is always useful to have a fallback.

Serial

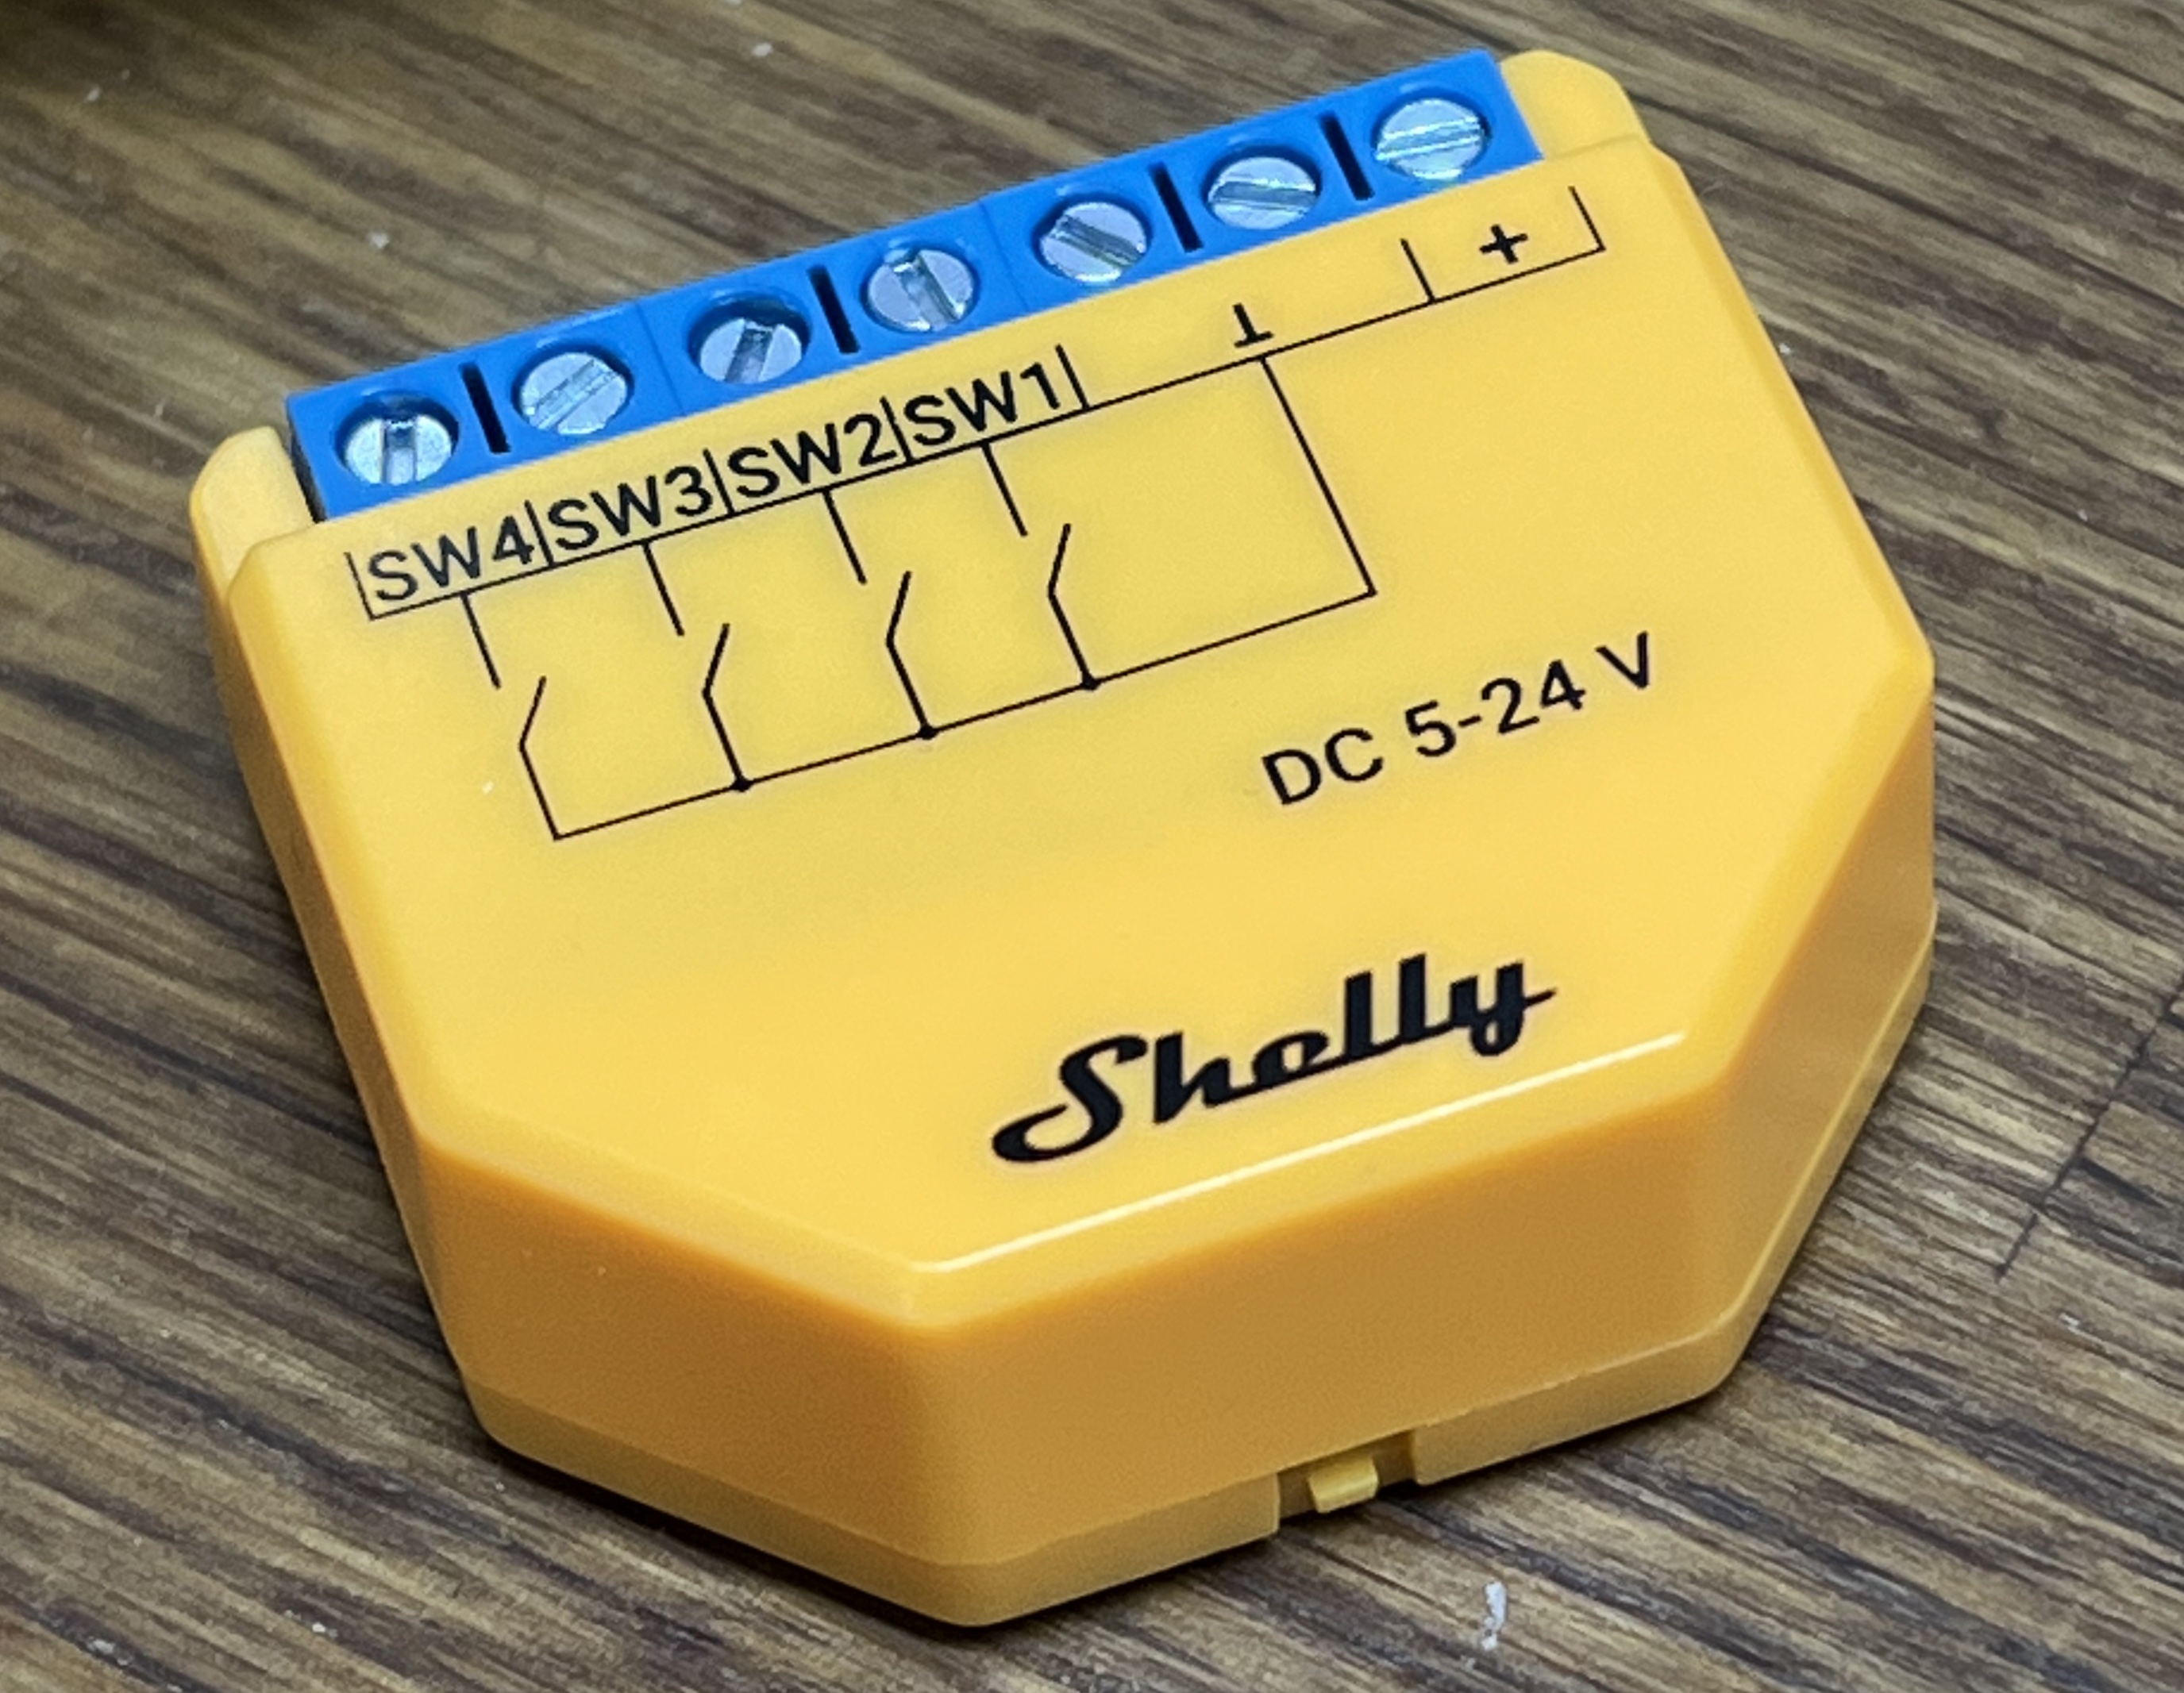
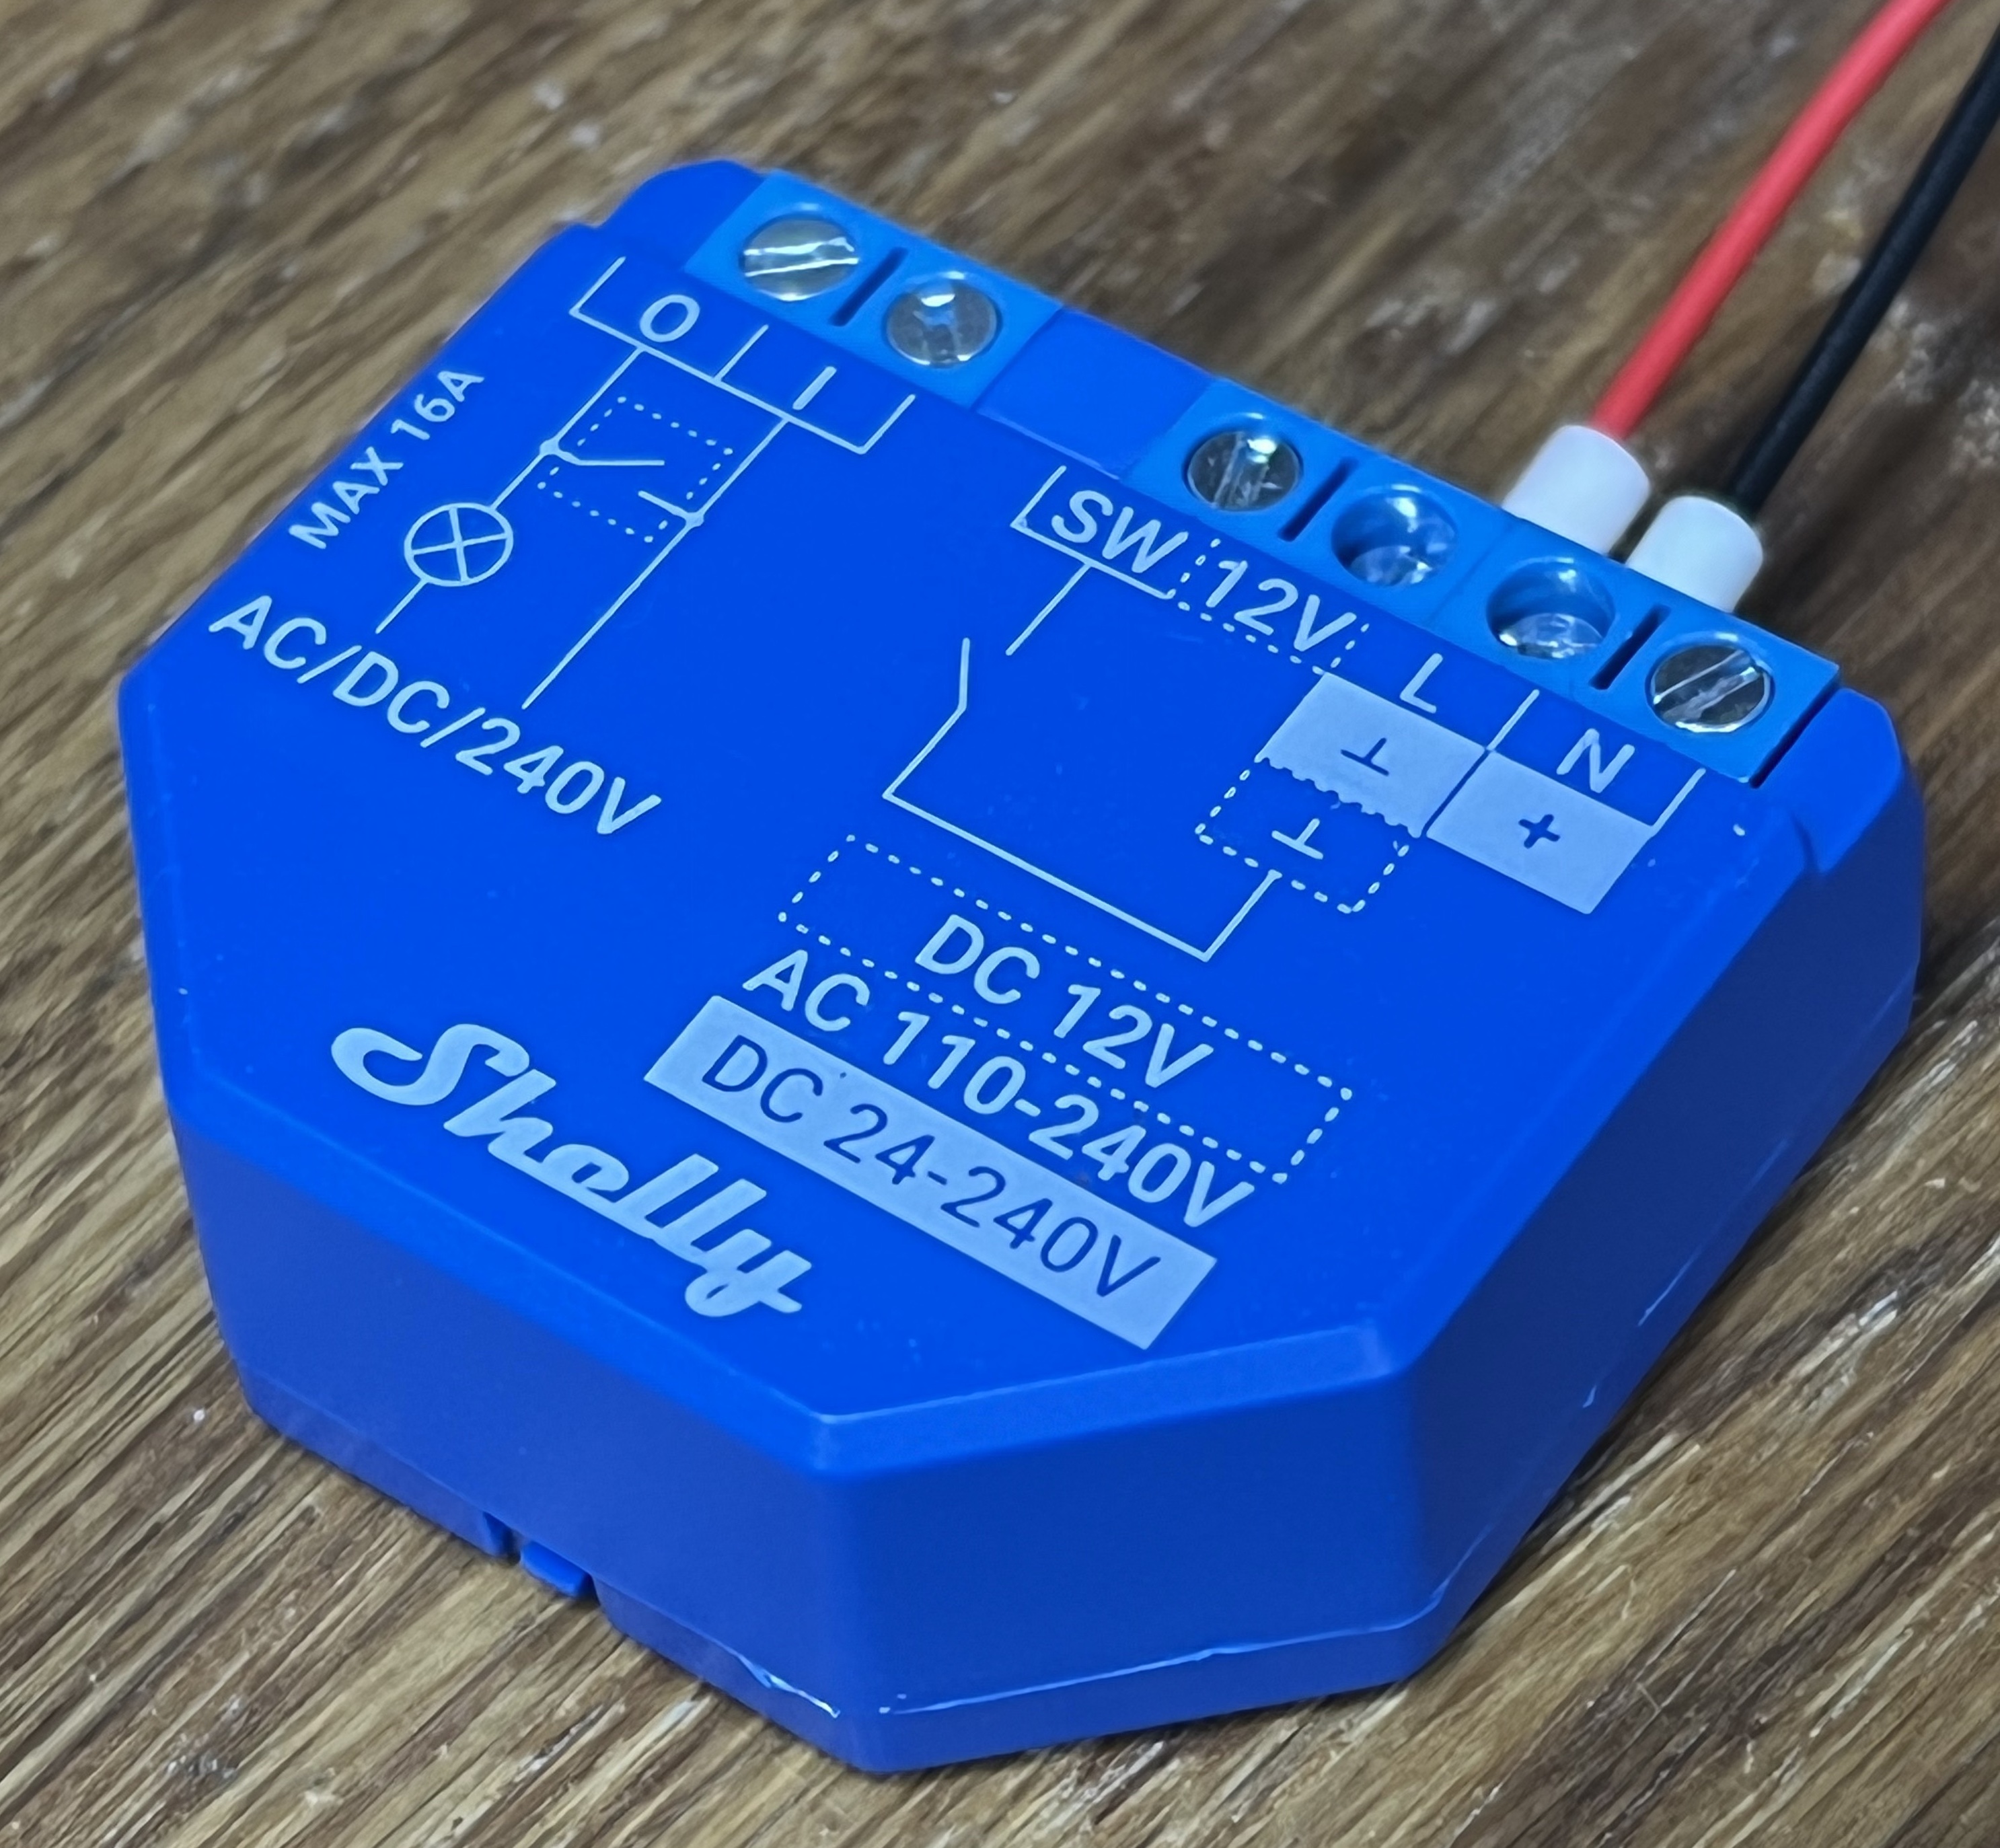
The other approach for flashing and console is the conventional serial port. For this you need to have at least Tx and Rx (GPIO43/44) pins, and boot mode (GPIO0), and a means to reset (EN). You could use power on as the reset and keep it to just 5 pins. I use a header that works the same as the Shelly 1 and so can use my Tasmotiser board.

This also fits under the processor rather nicely with no need for vias, and no component cost. In fact, it can fit under the processor along with a USB header...

2022-11-29

Shelly Plus i4DC GPIO

As previously posted, I am quite impressed with Shelly stuff anyway, but the new "Plus" range has allowed some interesting developments - as they use ESP32, which is the processor I use for my access and alarm system.

This has meant I am able to add bits to the alarm system much more simply than using my custom boards - anywhere. As I reported before the Shelly Plus 1 is great as it can work on DC or AC, but this modules is specifically for DC usage.

The Shelly Plus i4DC, which is like the Shelly Plus i4 (which is AC), is powered from 5V to 24V DC. This is great news as it can work from 12V and 24V alarm systems, and the typical 13.8V of a battery box quite safely. You could even wire to a USB 5V supply.

It has 4 inputs which connect to GND, and this works well for connecting to fire alarms, door sensors, and so on, and can easily have spares for tamper and dummy wires. I would struggle to make something like this for the same cost, and when I factor in my time this is a total no brainer.

I have also worked out the GPIO:-

  • GPIO0: Output for small LED (hard to see through case).
  • GPIO12: Input for SW1 signal (external switch) but needs configuring as pull down.
  • GPIO14: Input for SW2 signal (external switch) but needs configuring as pull down.
  • GPIO27: Input for SW3 signal (external switch) but needs configuring as pull down.
  • GPIO26: Input for SW4 signal (external switch) but needs configuring as pull down.
  • GPIO25: Input for small yellow button on the case, but needs configuring as pull up.

There are also 6 external connection pins for programming which are common to most Shelly, and not mains live on this model:

  • GND
  • GPIO0
  • EN
  • 3V3
  • GPIO3 RX to shelly
  • GPIO1 TX from shelly
  • GPIO16
These can easily be flashed with tasmota too, use the ESP32 solo build. Note I cover two extra GPIO than the usual tasmota config (GPIO0, GPIO25).

2022-06-09

Shelly Plus 1 GPIO

I am quite impressed with Shelly stuff anyway, but the new "Plus" range has allowed some interesting developments - as they use ESP32, which is the processor I use for my access and alarm system.

This has meant I am able to add bits to the alarm system much more simply than using my custom boards - anywhere I need just an input and/or just an output, for £15.99 I have a device that does the job. As an output it is a dry contact relay, and can be powered from 12V DC, or 24V-240V DC, or 110V-240V AC, so very flexible. Working with alarm system 12V DC or 24V DC is easy. Only catch is it should be 12V not 13.8V so a regulator may be handle, but it seems to cope without, so far.

The input is run at "live" so for mains working needs a proper switch rated for mains such as a light switch (or one of the nice retractive switches). But working on alarm system 12V, a simple contact like a reed switch, or connection to a PIR is simple.

Obviously there are plenty of uses for the alarm system that needs more than one input or one output, but this is pretty useful. I even have one electrically locked door that is just using one for the lock and door open inputs as it is a door that does not need a fob, just needs to be locked when alarm armed, and detect door open as an alarm input ("access", causing alarm if armed).

My new EL560 locks on the house are great as no need for break glass or exit button as they open with the inside handle. But if you have any doors you keep unlocked during the day, you need a way to lock the doors at night. And that needs a button. Well, a Shelly Plus 1 is ideal. The light shows the doors have been locked.

I have also worked out the GPIO:-

  • GPIO0: Output for small LED (hard to see through case).
  • GPIO4: Input for SW signal (external switch) but needs configuring as pull down.
  • GPIO25: Input for small blue button on the case, but needs configuring as pull up.
  • GPIO26: Output to work relay.

There are also 6 external connection pins for programming (WARNING: THESE CAN BE LIVE):

  • GND
  • GPIO0
  • EN
  • 3V3
  • GPIO3 RX to shelly
  • GPIO1 TX from shelly
  • GPIO16
These can easily be flashed with tasmota too, use the ESP32 solo build. Note I cover two extra GPIO than the usual tasmota config (GPIO0, GPIO25).

QR abuse...

I'm known for QR code stuff, and my library, but I have done some abuse of them for fun - I did round pixels  rather than rectangular, f...